Benefits of migrating from Angular to React:
We developed grafana-plugin-template-webpack and we are pioneers in developing plugins for Grafana on Webpack. We made types-grafana and were first who tried to make Grafana plugins on TypeScript. We provided consulting for Grafana Labs where we were responsible for developing premium plugins.
We really glad that Grafana made a gread job in improving ecosystem, but this post describes an alternative way of developing plugins based on our react-typescript template. We want to give the alternative because it gives more control over your software: control of how you build and test plugin, as well as it's dependencies.
First time Grafana Labs announced React in Grafana at GrafanaCon 2018 AMS, talk statements:
React components let you split the UI into independent, reusable pieces.
Of course, there is a reason to use TypeScript. We recommend a talk of Node.js about why TypeScript is awesome.
Types of Grafana plugins:
@grafana/ui is a collection of React-components and types for React-plugins development used by Grafana.
@grafana/ui is necessary for React plugins development. It has all the types you may need to develop a React plugin.
@grafana/toolkit is in a sense a wrapper around webpack-plugin-template with the following commands:
grafana-toolkit plugin:create - creates plugin templategrafana-toolkit plugin:build - compiles the plugin into bundle in dist/ directorygrafana-toolkit plugin:dev - runs development process in watch modegrafana-toolkit plugin:test - runs Jest tests for a pluginThe same commands in our templates:
npm run buildnpm run devnpm run test@grafana/toolkit is a convenient way to build plugins but it's not flexible:
@grafana/toolkit can be used if you don't need to customize the build process and need built-in features such as:
Internal Grafana services are moved into @grafana/runtime instead of being injected by Angular.
For example:
Before:
class MyPanelCtrl extends MetricsPanelCtrl {
  /** @ngInject */
  constructor(private backendSrv) { }
}
After:
import { getBackendSrv } from '@grafana/runtime';

const backendSrv = getBackendSrv();
React datasources are supported since Grafana 6.3.3 (you'll get Object prototype may only be an Object or null: undefined error in Grafana < 6.3.3).
Datasource query() method can either return Promise<result> or Observable<result>.
Observables help you to stream data from your datasource plugin. Streaming data is a great way to reduce your backend / network load. You don't have to create a separate network connection for each query.
Streaming datasource example: https://github.com/seanlaff/simple-streaming-datasource.
Example of Promise -> Observable conversion: https://github.com/grafana/grafana/pull/19037.
React support for apps was introduced in Grafana 6.3.3.
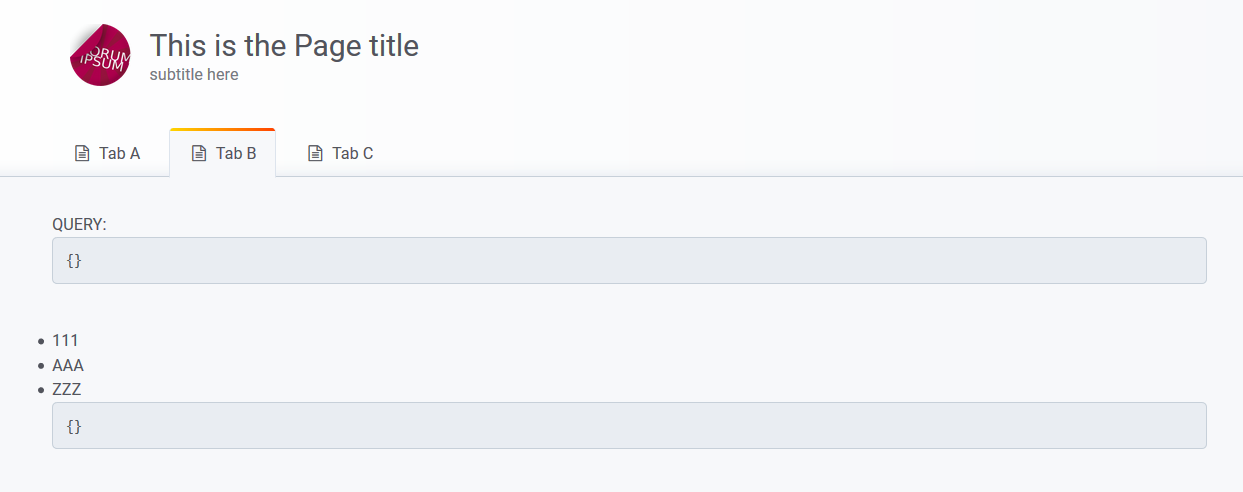
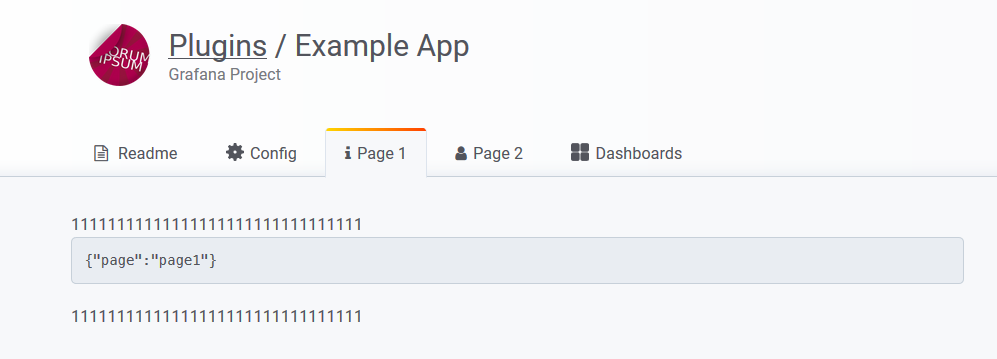
There are new types of application components:


Application config can still be written only in Angular.
See React app example.
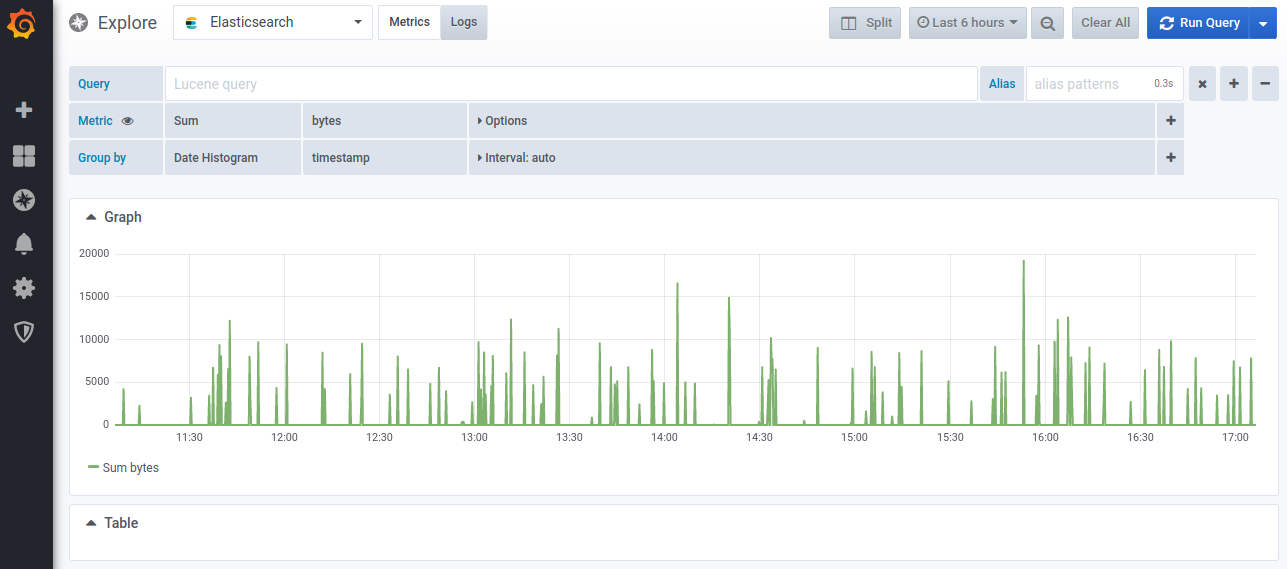
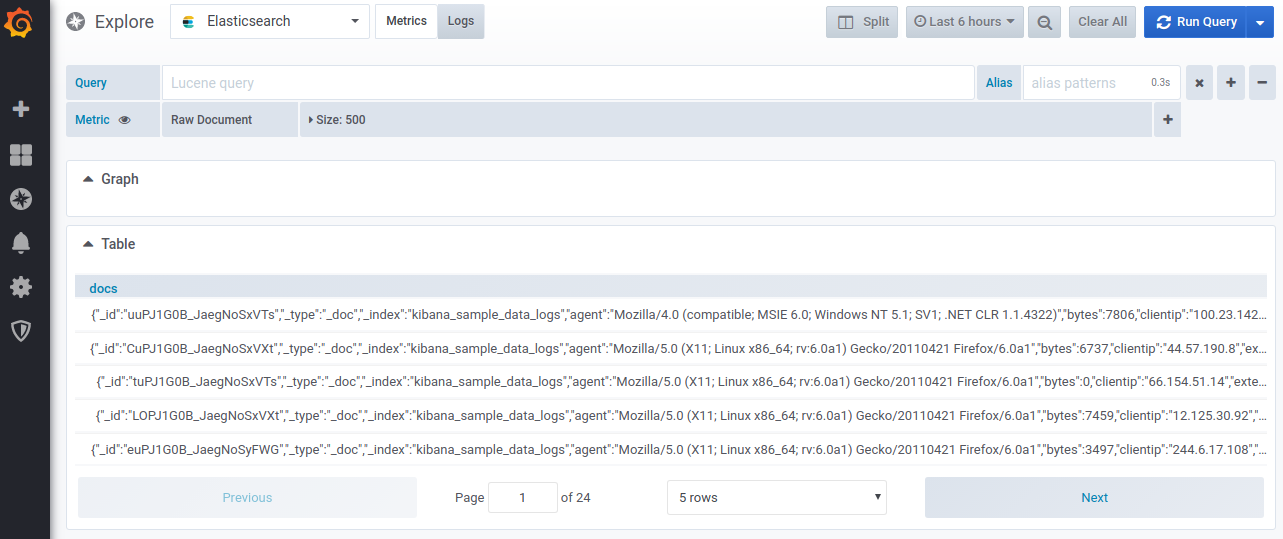
There is a new feature introduced in Grafana 6.0 called Explore. Explore can be used for datasource debugging and data exploration.
React datasources can be used in Explore. There is a setExploreLogsQueryField method in DataSourcePlugin class for this purpose.
PR which adds Explore support for ElasticSearch datasource: https://github.com/grafana/grafana/pull/17605.

Explore: graph visualisation

Explore: table visualisation
React components are files with .tsx extension.
Conceptually, components are like JavaScript functions. They accept arbitrary inputs (called “props”) and return React elements describing what should appear on the screen. More info about components here.
React components can be defined by subclassing React.Component or React.PureComponent. Read more about difference between React.Component or React.PureComponent here.
To be able to import React
import React, { PureComponent } from 'react';
tsconfig.json should contain follow:
"compilerOptions": {
  "allowSyntheticDefaultImports": true
}
It's not the render function you know from Angular-way development. Now it's React's standart render function.
render should return only one html tag, one div for example:
render() {
  return (
    <div>
      some html inner code
    </div>
  );
}
Work with panel options is different now.
React panels don't have direct access to panel.json so you should specify panel options you're going to store.
PanelOptions is passed as a PanelProps generic argument. Grafana will pass options from editor to your panel component as props.
export const plugin = new PanelPlugin<MyPanelOptions>(MyPanel)
  .setDefaults(defaults)
  .setEditor(MyPanelEditor);
Options usage example:
export interface MyPanelOptions {
  someText: string;
}

export class MyPanel extends PureComponent<PanelProps<MyPanelOptions>> {
  render() {
    const { options } = this.props;

    return (
      <div>
        Text from editor: { options.someText }
      </div>
    );
  }
}
PanelEditor is the separate component which represents "Visualization" tab and is used for configuring a panel plugin.
Panel editor example:
export class GaugePanelEditor extends PureComponent<PanelEditorProps<GaugeOptions>> {
  labelWidth = 6;

  render() {
    const { options, onChange } = this.props;

    return (
      <PanelOptionsGrid>
        <PanelOptionsGroup title="Some options">
          <Input
            className="gf-form-input width-5"
            type="text"
            value={options.someText}
            placeholder="Enter some text"
            onChange={event => {
              onChange({
                ...options
              });
            }}
          />
        </PanelOptionsGroup>
      </PanelOptionsGrid>
    );
  }
}
Like what we do? Check out services.